Step 5 - Greenhouses
How to Insulate a Greenhouse for Winter
Insulation buys you a few degrees for very little money -- and it costs you light and air, which is the trade nobody mentions.
Janet H. - the hands-on owner behind Janet Media Group.
Published
This page contains affiliate links. If you buy through them we may earn a commission at no cost to you, and it never decides what we recommend. How this site is funded.
The most effective way to insulate a greenhouse is horticultural bubble insulation clipped to the inside of the frame, with every gap and vent edge sealed and water-filled containers on the floor for thermal mass. Together those measures typically hold a few degrees more overnight -- enough to turn a frost-prone greenhouse into a frost-free one in a mild climate, and not enough to make an unheated greenhouse warm. They also cost you light, which matters in midwinter, and they make ventilation more important rather than less.
What each measure is actually worth
| Measure | Rough benefit | Cost | What it costs you |
|---|---|---|---|
| Seal gaps, doors and glazing overlaps | Often the biggest single gain | Very low | Nothing -- do this first |
| Bubble insulation, inside, whole house | A few degrees overnight | Low | 10 to 25 percent of the light |
| Bubble insulation on the north side only | Perhaps a degree | Very low | Almost no useful light |
| Thermal mass: dark water containers | Flattens the daily swing | Free | Floor space |
| Insulate the floor edges and base | Modest | Low | Nothing |
| Partition off a smaller heated zone | Large, where you need it | Low | Growing space |
| Fleece or row cover over plants at night | A few degrees at plant level | Very low | Nothing -- removed each morning |
Start with the gaps, not the bubble wrap
Air leakage is where most of the heat in a hobby greenhouse goes, and it is the cheapest thing to fix. Work round the structure and find it: gaps where glazing panels overlap, the edge of a door that no longer closes square, missing or slipped glazing clips, the gap under a sliding door, worn vent seals, and the joint between the frame and the base.
Replace missing clips, adjust the door so it closes properly, add draft seal or foam strip where the door meets the frame, and tape over any overlap gap on the inside. A draft-free greenhouse before you add any insulation is often warmer overnight than a leaky one with bubble wrap on it.
Bubble insulation, done properly
- Buy horticultural bubble, not packing bubble wrap. It is UV-stabilized so it lasts more than one winter, and the large-bubble grades let through noticeably more light than small-bubble packaging material.
- Fit it inside the frame, not outside. Outside it is wrecked by wind and UV within a season. Inside it also creates a still air gap between the bubble and the glazing, which is where the insulating value actually comes from.
- Leave an air gap. Clipped to the frame rather than pressed flat against the panels is what makes it work. Flat against the glazing it does much less.
- Do not cover the vents. Cut around roof and side vents so they still open, and seal the bubble to the vent frame rather than over it.
- Consider the north side only. If light is the limiting factor -- and in midwinter it usually is -- insulating the north-facing side and the lower panels gives you most of the structural benefit for very little light loss.
- Take it down in spring. Once nights are reliably above freezing, it is costing you light and trapping humidity for no benefit.
Quick picks
| # | Product | Best for | Score | Price |
|---|---|---|---|---|
| 1 | 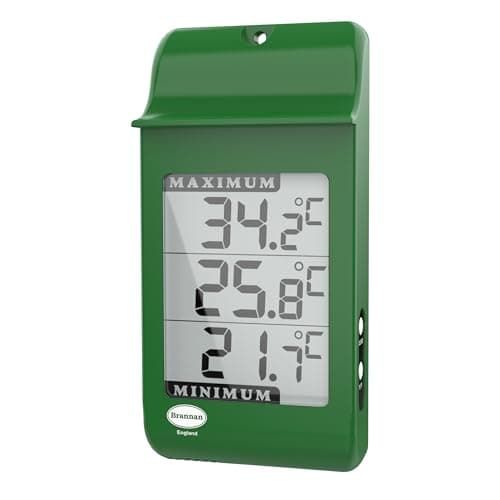 Top pickMin/Max Greenhouse ThermometerRecords the high and low since last reset | Knowing what actually happened overnight | 8.6 | $13.95 - View on Amazon |
| 2 | 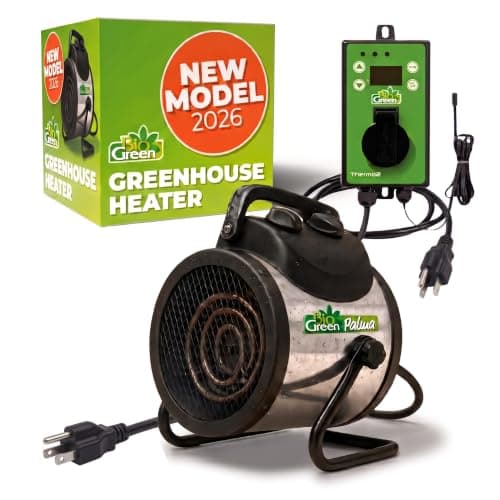 Bio Green Palma Greenhouse Heater1500 W, IPX4 splash-proof, digital thermostat | Frost protection you can set and leave | 9.0 | Check price on Amazon |
| 3 | 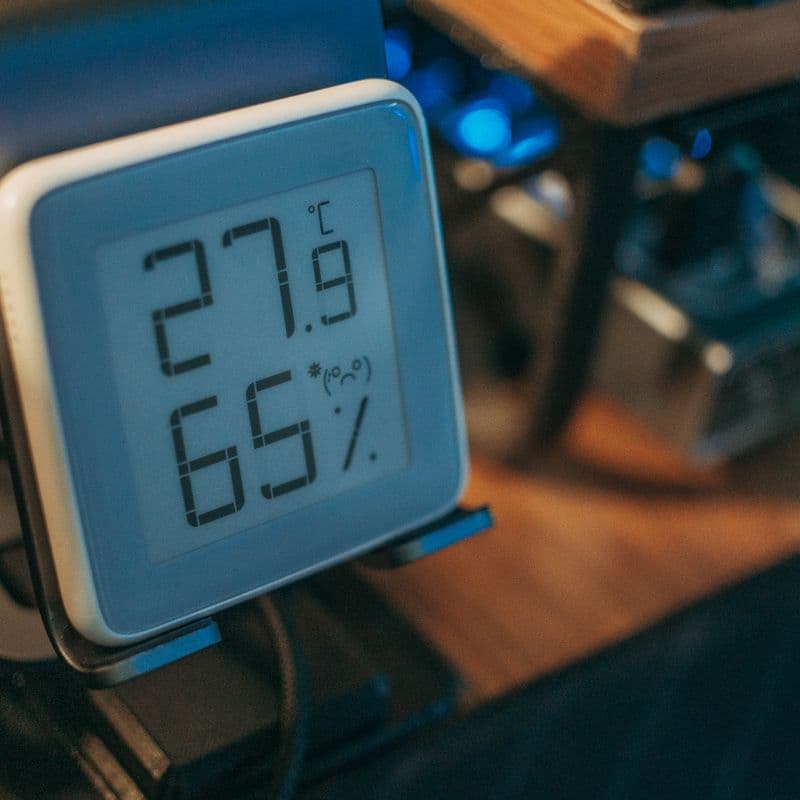 BN-LINK Digital Thermostat Controller Plug15 A / 1875 W, two-stage heat and cool outlets | Making a cheap heater behave | 8.8 | Check price on Amazon |
| 4 | 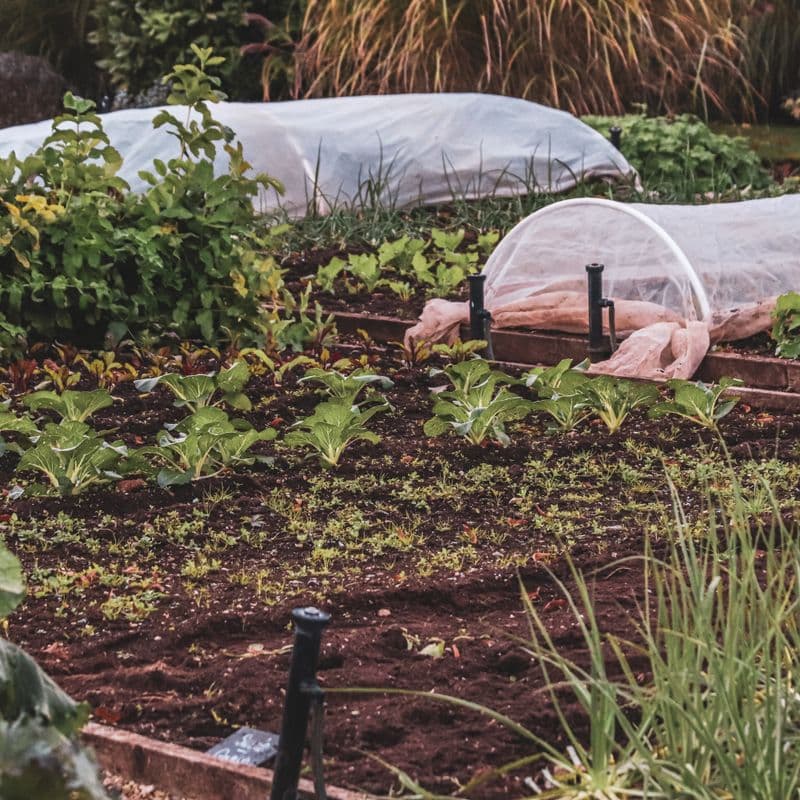 Agribon AG-19 Floating Row Cover0.55 oz/sq yd fabric, about 85% light transmission | A few degrees for almost no money | 8.4 | Check price on Amazon |
#ad We may earn a commission - Price as of October 11, 2026
Scores are our own editorial judgment, formed from published specifications and independent sources. They are not aggregated customer ratings, and they are not the result of hands-on testing, which we do not currently do. See how we choose.
Thermal mass: free, and genuinely effective
Water holds a great deal of heat. Dark-colored containers of water on the floor and under the benches absorb solar gain through the day and release it overnight, which flattens the temperature swing in both directions -- less overheating in the afternoon, less of a crash before dawn. Black-painted jugs, dark barrels or a few water butts along the north wall all work, and the only cost is floor space.
It will not keep a greenhouse above freezing through a hard cold snap, and it should not be sold as heating. What it does is reduce the daily swing, which is often the thing actually damaging plants -- repeated hard freeze and rapid thaw does more harm than a steady cold.
The trade you are making: light and humidity
Two real costs come with insulating, and both are usually left out.
Light. Bubble insulation blocks a meaningful share of the light reaching the plants, and in December and January light is already the limiting factor. A fully bubble-lined greenhouse is warmer and darker, and for overwintering dormant plants that is a good trade -- for growing anything actively it may not be. This is the argument for insulating the north side and leaving the south glazing clear.
Humidity. A sealed, insulated greenhouse holds moisture, and plants still transpire on cold days. Saturated still air is exactly the condition that fungal disease wants, and a heated sealed greenhouse grows mold. The answer is to keep ventilating -- open a vent briefly on milder days even in midwinter. A few minutes of air exchange costs very little heat and prevents a great deal of trouble. Greenhouse gardening tips covers the ventilation and hygiene routine in full.
Partitioning, which is the underused trick
If what you actually need is a frost-free space for a few trays and some tender plants, insulating and heating the whole structure is wasteful. Hang a bubble or clear polythene curtain across the greenhouse and work in a smaller zone -- a third of the floor area needs roughly a third of the heat, and the insulated partition does more per dollar than lining the whole building.
Put the partitioned zone at the end nearest the door for access, or against a house wall if it is a lean-to, and keep the thermal mass inside the partition with the plants.
When insulation is not enough
Insulation reduces heat loss; it does not add heat. In a climate with sustained hard frost, an insulated unheated greenhouse will still freeze -- it will just take longer and thaw more slowly. If the overnight lows on your min/max thermometer are well below freezing and you want to keep anything tender, you need a thermostatically controlled heater, and insulating first is what makes that heater cheap to run.
That sequence matters: seal the gaps, insulate, add thermal mass, and only then size a heater. Doing it the other way round means paying to heat air that is leaking out of a draft. Do I need a greenhouse heater? sets out when heating is genuinely justified, and greenhouse heaters covers the units and the thermostat control that stops one running all night.
The order to do it in
Seal the drafts this weekend, because it is free and it is the biggest single gain. Fit horticultural bubble to the north side and the lower panels next. Put water containers under the benches. Fleece or row cover over the plants on the coldest nights, removed each morning. Then look at your recorded overnight lows and decide whether a heater is needed at all -- for a great many gardens in mild climates, the answer after insulating turns out to be no.
Common questions
What is the best way to insulate a greenhouse?
Seal every draft and gap first -- it is free and usually the biggest gain -- then clip horticultural bubble insulation to the inside of the frame with an air gap behind it, and add dark water containers on the floor for thermal mass. Together those typically hold a few degrees more overnight.
Should bubble wrap go inside or outside a greenhouse?
Inside, always. Outside it is destroyed by wind and UV within a season. Fitted inside and clipped to the frame rather than pressed against the panels, it creates a still air gap against the glazing, which is where the insulating value actually comes from.
How much warmer does insulating a greenhouse make it?
A few degrees overnight from a full bubble lining with gaps sealed and thermal mass added. That is often enough to turn a frost-prone greenhouse into a frost-free one in a mild climate. It will not keep a greenhouse warm through sustained hard frost -- insulation reduces heat loss, it does not add heat.
Does insulating a greenhouse reduce light?
Yes, and in midwinter that matters. Bubble insulation blocks a meaningful share of incoming light, which is a good trade for overwintering dormant plants and a poor one for growing actively. Insulating the north side and the lower panels only gives most of the benefit with very little light loss.
Do you still need to ventilate an insulated greenhouse?
More than before. A sealed insulated greenhouse holds moisture, plants still transpire on cold days, and saturated still air is what fungal disease wants. Open a vent briefly on milder days even in midwinter -- a few minutes of air exchange costs very little heat.
Sources
Factual claims on this page are backed by the published sources below, and product specifications are the manufacturers’ own. Where a figure is not published, we say so rather than estimating it.