Step 5 - Greenhouses
The Best Backyard Greenhouse Kits
A backyard greenhouse lives or dies on siting and anchoring. The kit itself is the easy part.
Janet H. - the hands-on owner behind Janet Media Group.
Published - last updated
This page contains affiliate links. If you buy through them we may earn a commission at no cost to you, and it never decides what we recommend. How this site is funded.
Pick the largest kit your yard and budget allow, site it for winter sun, and put it on a proper base. Those three decisions matter more than the differences between comparable kits at the same price.
Quick picks
| # | Product | Best for | Score | Price |
|---|---|---|---|---|
| 1 | 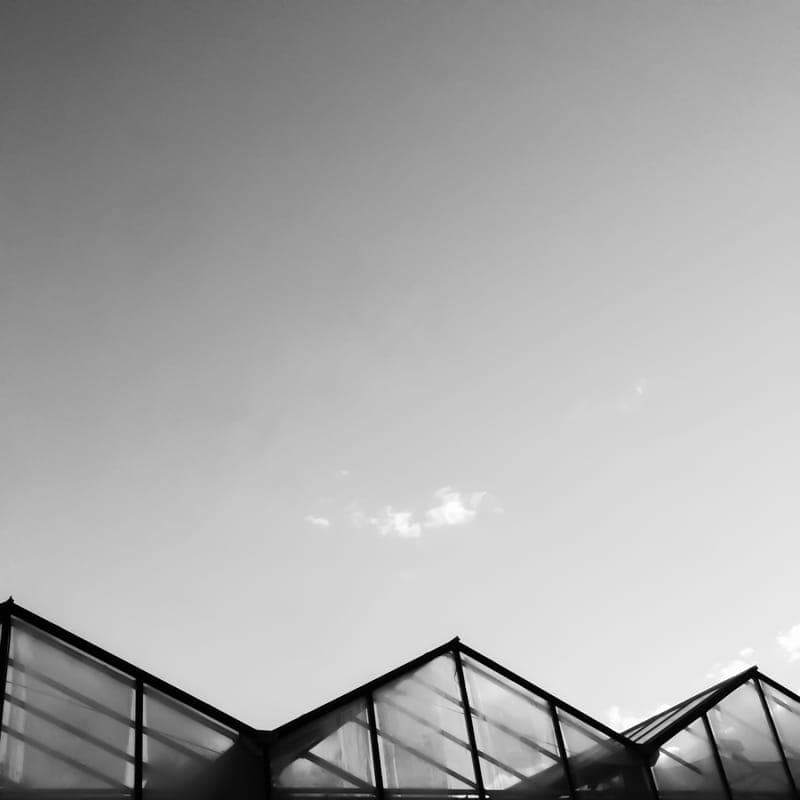 Top pickPalram Canopia Mythos GreenhouseAluminum frame, 4 mm twin-wall polycarbonate | A first real greenhouse | 9.0 | Check price on Amazon |
| 2 | 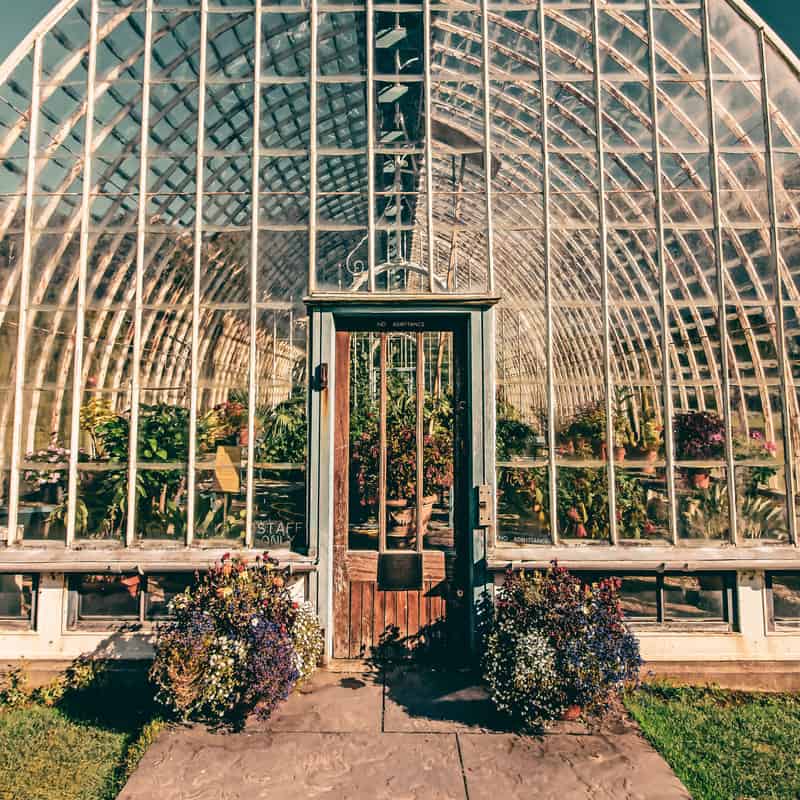 Palram Canopia Hybrid GreenhouseClear side panels, twin-wall roof | Seeing in, and light diffusion | 8.8 | Check price on Amazon |
| 3 | 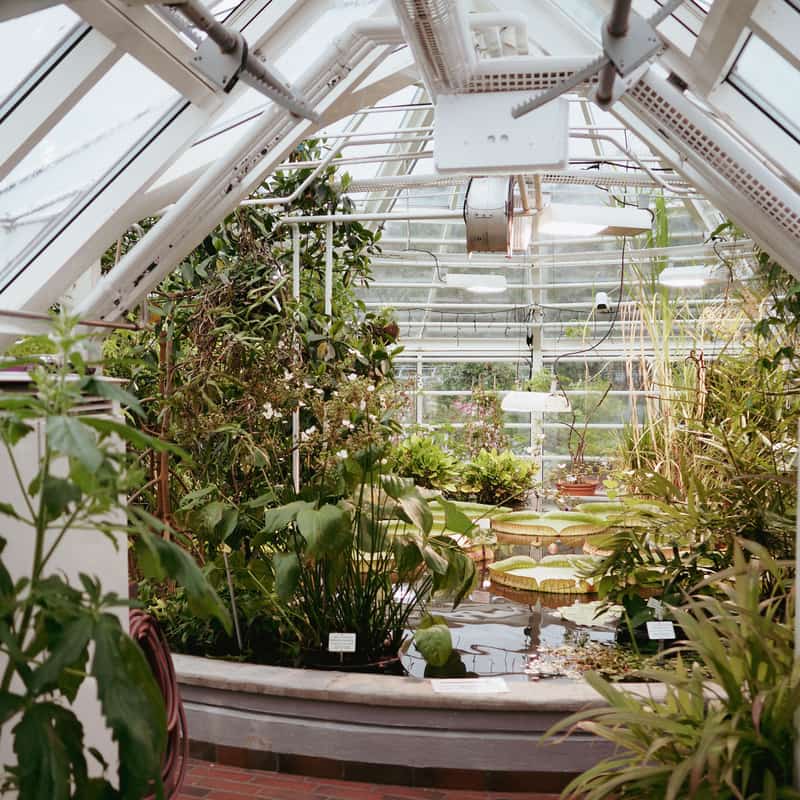 Palram Canopia Glory Greenhouse10 mm twin-wall polycarbonate throughout | Cold climates and winter growing | 8.9 | Check price on Amazon |
| 4 |  Quictent Portable Walk-In GreenhouseSteel tube frame with reinforced PE cover | The cheapest usable start | 7.8 | Check price on Amazon |
| 5 |  Greenhouse Staging and Shelving UnitTiered staging sized for standard trays | Doubling usable space | 8.2 | Check price on Amazon |
#ad We may earn a commission - prices are shown by Amazon, not by us
Scores are our own editorial judgment, formed from published specifications and independent sources. They are not aggregated customer ratings, and they are not the result of hands-on testing, which we do not currently do. See how we choose.
Siting, in order of importance
- Winter sun. A greenhouse earns its keep in the shoulder seasons, when the sun is low. Position for an open southern aspect and check where the house shadow falls in December, not June.
- Deciduous trees. A bare branch in March is dense shade in May. Map the canopy, not the current state.
- Wind shelter, with access. Some shelter helps, but leave room to walk round for cleaning and panel replacement.
- Water. Nothing under cover gets rain. A hose that reaches is worth more than an ideal aspect twenty yards further away.
- Level, stable ground. A frame that racks out of square will not seal, and panels pop out of a racked frame.
What to put it on
| Base | Good for | Watch out for |
|---|---|---|
| Manufacturer base rail on leveled ground | Most kits, lowest cost | Needs genuinely level ground and proper ground anchors |
| Timber frame on leveled gravel | Good drainage, easy to level | Untreated timber will eventually rot |
| Paving slabs | Clean, stable, easy to sweep | No drainage through the floor; plan for runoff |
| Concrete slab | Permanent and rigid | Expensive, and may need a permit |
| Gravel floor inside a frame | Drains, and holds a little daytime heat | Weeds come through without a membrane |
Many gardeners use a gravel floor with a perimeter frame: it drains, it can be damped down on hot days to raise humidity, and it holds some warmth into the evening.
Permits and neighbors
Rules vary widely by jurisdiction. Many places exempt small, unheated, non-permanent structures; others regulate by footprint, height or proximity to a boundary, and a permanent concrete base can change the classification. It is worth five minutes with your local planning department before you order.
Anchoring, again
It appears on every page here because it is the most common and most expensive mistake. A greenhouse that has not been anchored will eventually move, and when it does the panels are usually unsalvageable. Use the supplied anchors, and use all of them.
Next: what size greenhouse do I need, and greenhouse accessories for the three items that genuinely change outcomes.
The picks in full
Top pick
Palram Canopia Mythos Greenhouse
Palram Canopia
#ad We may earn a commission - prices are shown by Amazon, not by us
The sensible first greenhouse: an aluminum frame with twin-wall panels, sized to fit a normal backyard rather than a nursery.
Twin-wall polycarbonate is the thing that separates a greenhouse from a plastic tent. Two skins with an air gap between them insulate, and the panel diffuses light rather than throwing hard shadows, which suits seedlings better than clear glass does.
The Mythos sits at the point in the range where you get a proper aluminum frame, a roof vent and a lockable door without paying for the heavy-duty glazing. For starting seeds, hardening off, and stretching the tomato season at both ends, that is the right specification.
Two warnings from the manual that people ignore. Anchor it -- every lightweight greenhouse that ends up in a neighbor's yard was not anchored. And build it with a second person; the panels flex and the frame is not square until the last bolt.
What works
- Twin-wall panels diffuse light and insulate better than single-skin plastic
- Aluminum frame will not rust or need painting
- Lengths let you match the run to the space you have
- Roof vent included rather than sold as an extra
What does not
- 4 mm glazing is thin for real winter use
- Assembly is a long afternoon and genuinely needs two people
- Must be anchored -- an unanchored kit is a sail
Skip it if: you live somewhere with heavy snow load. 4 mm panels are a three-season specification; the thicker-glazed models exist for a reason.
| Frame | Rust-resistant aluminum |
|---|---|
| Glazing | 4 mm twin-wall polycarbonate |
| Sizes | 6 ft wide, several lengths including 6 x 8 and 6 x 10 |
| Ventilation | Roof vent, lockable door handle |
| Base | Integrated base rail, anchoring required |
Seeing in, and light diffusion
Palram Canopia Hybrid Greenhouse
Palram Canopia
#ad We may earn a commission - prices are shown by Amazon, not by us
Clear walls so you can see what is happening inside, with a diffusing twin-wall roof over the plants that need protection from hard overhead sun.
The Hybrid name refers to two glazing types in one kit: crystal-clear panels on the walls, twin-wall on the roof. In practice that means high light levels from the sides and diffused light from above, which is a good compromise in a northern or cloudy garden.
It also means you can see in. That sounds trivial until you have walked out in the rain three times a week to check whether anything needs water.
In a hot, south-facing, unshaded spot the clear walls become a liability. If that is your site, choose the fully diffused model or plan on shade cloth from midsummer.
What works
- You can see the plants without opening the door
- High light transmission through the clear walls
- Twin-wall roof still protects from midday sun
- Same aluminum frame as the rest of the range
What does not
- Clear walls run hotter than fully diffused glazing
- Shows dirt and algae sooner
- Needs shading in a hot, exposed spot
Skip it if: your site bakes in afternoon sun. Clear walls transmit far more light, and heat follows light.
| Frame | Rust-resistant aluminum |
|---|---|
| Glazing | Clear polycarbonate walls, twin-wall roof |
| Sizes | 6 ft wide, multiple lengths |
| Ventilation | Roof vent plus hinged door |
| Base | Integrated base, anchoring required |
Cold climates and winter growing
Palram Canopia Glory Greenhouse
Palram Canopia
#ad We may earn a commission - prices are shown by Amazon, not by us
The heavy-glazed model in the range, and the one to buy if the plan is to keep growing through a real winter.
Glazing thickness is the whole argument for this kit. A 10 mm twin-wall panel holds substantially more heat overnight than a 4 mm one, and overnight is when a winter greenhouse either works or does not.
It is also the model to look at if you get real snow. Thin panels and light frames are a three-season specification; if you are in the Cascades or anywhere with a genuine snow load, buy the heavier structure rather than hoping.
None of that makes it heated. A greenhouse without a heat source holds a few degrees over outside, which is the difference between hardy greens surviving and not -- it is not a tropical house in January.
What works
- 10 mm glazing holds heat far better than 4 mm
- Rated for harder weather than the lighter kits
- Wider footprint gives room for benches down both sides
- Better vent provision as standard
What does not
- Substantially more expensive
- Thicker panels cut light transmission a little
- Heavy enough that assembly is a two-person, whole-day job
Skip it if: you only want a spring seed-starting space. You are paying a large premium for insulation you will use for three months of the year.
| Frame | Heavy-gauge aluminum |
|---|---|
| Glazing | 10 mm twin-wall polycarbonate |
| Sizes | 8 ft wide, several lengths |
| Ventilation | Roof vents, and a screened side vent on some models |
| Base | Integrated base, anchoring required |
The cheapest usable start
Quictent Portable Walk-In Greenhouse
Quictent
#ad We may earn a commission - prices are shown by Amazon, not by us
A tunnel, not a building -- but the cheapest way to find out whether you will actually use a greenhouse before spending real money.
This is the honest entry point. A lot of people buy a greenhouse and discover they do not have the habit to use one, and finding that out cheaply is worth something.
It does real work in spring: hardening off seedlings, protecting young plants from a late frost, and giving you somewhere dry to pot up. Those are the jobs a first greenhouse actually does.
Treat the cover as a consumable and stake it properly. Every bad review of a tunnel greenhouse is a wind story, and almost all of them start with skipped guy ropes.
What works
- A fraction of the cost of a rigid kit
- Goes up in an hour with no special tools
- Packs away out of season
- Mesh windows give usable ventilation
What does not
- The cover degrades in UV and is a replaceable part
- Poor in wind unless properly staked and guyed
- Not a snow-load structure
Skip it if: you are in a windy or snowy spot. A covered frame is not a structure, and covers are a consumable.
| Frame | Powder-coated steel tube |
|---|---|
| Cover | Reinforced PE with mesh windows |
| Sizes | Several walk-in footprints |
| Ventilation | Roll-up door and mesh side windows |
| Anchoring | Ground stakes and guy ropes supplied |
Doubling usable space
Greenhouse Staging and Shelving Unit
Various
#ad We may earn a commission - prices are shown by Amazon, not by us
A greenhouse is measured in shelf area, not floor area, and staging is the cheapest way to double what you have.
The first thing most new greenhouse owners discover is that a 6 x 8 footprint is smaller than it looked in the listing. Staging is the fix: three tiers of trays in the floor space of one.
Look for slatted or mesh tops rather than solid ones. Water has to drain and air has to move, or the trays on the shelf become the place fungus gnats and damping-off start.
Plan for the seasonal switch. Staging is right in February and March when the greenhouse is full of seed trays, and comes out in May when tall crops go in and the shelves would only shade them.
What works
- Turns one growing surface into three
- Keeps trays off a cold floor
- Slatted tops let water drain and air move
- Comes down and stores when you switch to tall crops
What does not
- Upper shelves shade the lower ones
- Lightweight units flex under a full tray of wet compost
- Competes for space with in-ground planting
Skip it if: you are growing tall crops to maturity in the ground inside. Staging and mature tomatoes compete for the same light.
| Type | Tiered staging or shelving |
|---|---|
| Sizing | Depths made to take standard 1020 trays |
| Material | Powder-coated steel or aluminum |
| Assembly | Bolt-together or slot-together |
Common questions
Where should I put a greenhouse in my backyard?
Where it gets maximum winter sun -- an open southern aspect, clear of the house shadow in December and clear of deciduous trees that will leaf out in May. Level, drained ground within reach of a hose, with space to walk around it for cleaning and repairs.
What do you put under a greenhouse?
A level base: the manufacturer's base rail on leveled ground, a timber frame on gravel, paving slabs, or a concrete slab. A gravel floor inside a perimeter frame is popular because it drains, can be damped down on hot days, and holds a little heat into the evening.
Do I need a permit for a backyard greenhouse?
It depends entirely on your jurisdiction. Many exempt small, unheated, non-permanent structures, while others regulate by footprint, height or distance from a boundary -- and a permanent concrete base can change how the structure is classified. Check locally before ordering.
How do you anchor a greenhouse to the ground?
Use the manufacturer's base rail with the supplied ground anchors, or bolt the frame to a timber or concrete base. Use all the anchors, not some of them. Wind is the most common cause of greenhouse destruction and an unanchored kit behaves like a sail.
Sources
Factual claims on this page are backed by the published sources below, and product specifications are the manufacturers’ own. Where a figure is not published, we say so rather than estimating it.