Step 5 - Greenhouses
The Best Greenhouse for High Winds
Wind is a fixing problem before it is a frame problem. The kit matters; how it is held down matters more.
Janet H. - the hands-on owner behind Janet Media Group.
Published
This page contains affiliate links. If you buy through them we may earn a commission at no cost to you, and it never decides what we recommend. How this site is funded.
For a genuinely windy site, buy the Palram Canopia Glory: heavy-gauge aluminum frame, 10 mm twin-wall panels held in a deeper channel, and an integrated base you can bolt down. Then spend the money most people skip -- proper anchors into slabs or ground screws, and a check of every glazing clip each spring. A heavier kit badly fixed fails before a lighter kit fixed properly.
What wind actually breaks
Three things, in this order. The anchoring goes first: an unanchored greenhouse lifts as a whole unit, which is why the photographs are always of an intact structure lying in next door's garden. The glazing clips go second: panels in a shallow channel flex, pop out one corner, and then the wind has an opening to work on. The frame goes last, and usually only after one of the first two has already failed.
That order is why frame gauge is not the first thing to shop on. A thicker frame is worth having, but it changes nothing if the structure is sitting on turf held down by its own weight.
Quick picks
| # | Product | Best for | Score | Price |
|---|---|---|---|---|
| 1 | 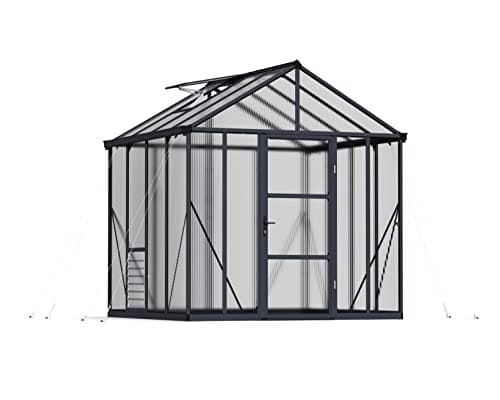 Top pickPalram Canopia Glory Greenhouse10 mm twin-wall polycarbonate throughout | Cold climates and winter growing | 8.9 | Check price on Amazon |
| 2 | 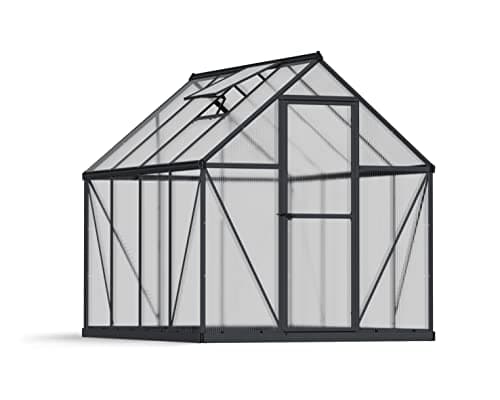 Palram Canopia Mythos GreenhouseAluminum frame, 4 mm twin-wall polycarbonate | A first real greenhouse | 9.0 | Check price on Amazon |
| 3 | 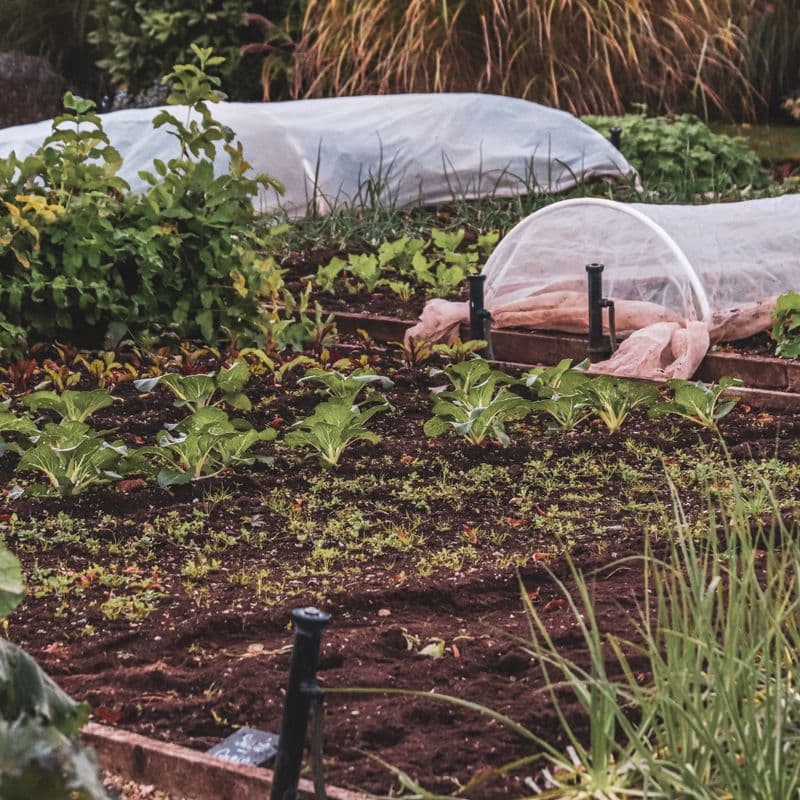 Agribon AG-19 Floating Row Cover0.55 oz/sq yd fabric, about 85% light transmission | A few degrees for almost no money | 8.4 | Check price on Amazon |
| 4 | 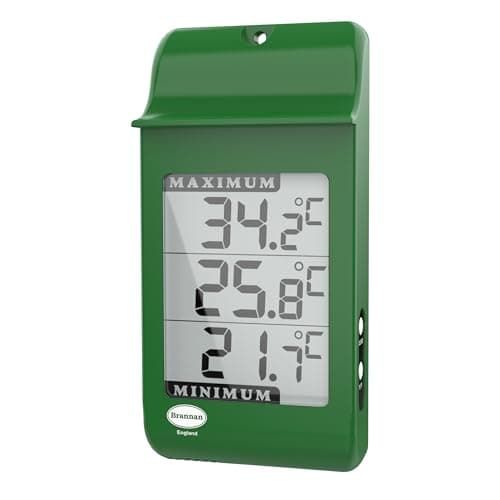 Min/Max Greenhouse ThermometerRecords the high and low since last reset | Knowing what actually happened overnight | 8.6 | $13.95 - View on Amazon |
#ad We may earn a commission - Price as of October 10, 2026
Scores are our own editorial judgment, formed from published specifications and independent sources. They are not aggregated customer ratings, and they are not the result of hands-on testing, which we do not currently do. See how we choose.
Rigid kit or tunnel on an exposed site
| Rigid polycarbonate kit | Covered tunnel or mini frame | |
|---|---|---|
| Failure mode | Panels pop from clips, then frame racks | Cover tears or the whole frame lifts |
| Can it be bolted down? | Yes -- integrated base rail into slabs or screws | Stakes and guy ropes only |
| Repairable after a storm | Individual panels and clips replace | Cover is a consumable, not a repair |
| Worth it on an exposed site | Yes, with proper anchoring | Only as a seasonal, taken-down structure |
| Wind-resistance limit | Set by the fixings you choose | Set by the stakes supplied |
The Quictent-style walk-in tunnel is a good product doing a different job, and we recommend it elsewhere. On an exposed site it is the wrong purchase: there is no way to bolt a steel tube frame to anything, so its wind resistance is permanently capped by what the supplied stakes can hold. If that is your garden, read greenhouse vs cold frame -- a low frame has almost no sail area and may be the better answer.
Anchoring, by what you are standing it on
- Paving slabs or a concrete pad. Masonry anchors through the base rail. The strongest option and the easiest to inspect.
- Soil or turf. Ground screws or auger anchors at every base corner and midpoint. Pegs pushed into soft ground are not anchoring.
- Timber perimeter on gravel. Coach screws through the base rail into the timber, with the timber itself staked. Good, and the cheapest solid option.
- Decking. Only if you can reach the joists. Screws into decking boards alone will pull through.
Whatever you use, anchor every point the base rail provides, not the four corners. The corners are where the loads concentrate, but the midpoints are what stop the rail flexing and releasing the panels above it.
Siting beats specification
A greenhouse in the lee of a hedge, fence or building survives weather that destroys the identical kit standing in the open. A permeable windbreak -- a hedge, slatted fence or mesh screen -- is better than a solid one, because a solid barrier creates turbulence and a low-pressure zone on its downwind side that can be worse than open exposure.
Keep the short end into the prevailing wind if you have the choice. The long side is the large flat surface, and presenting it to the wind loads every clip along it at once.
Glazing retention is the detail nobody shops on
Twin-wall panels are held in the frame two ways: a channel the panel edge sits inside, and clips that stop it sliding out. The depth of that channel and the number of clips per panel is what decides whether a gust lifts a corner. It is almost never in a product listing, which is why the practical proxy is glazing thickness -- a 10 mm panel sits in a deeper channel than a 4 mm one simply because it has to.
Two things you can do on any kit. Add clips: spares are inexpensive, and doubling up along the windward side is the cheapest structural upgrade available. And seat every panel fully before tightening the frame, because a panel that is only half into its channel looks fine on a still day and is the first one to go.
On the tunnels there is no channel at all -- the cover is held by its own tension and whatever ties you add. That is the real reason they are not an exposed-site product.
Snow is a different problem
Wind is a tension and uplift problem solved with fixings. Snow is a compression problem solved with glazing thickness and frame gauge. The two overlap -- the Glory is the answer to both in this range -- but they are not the same specification, and a kit that handles one can fail at the other.
If snow load is your real concern rather than wind, the best greenhouse kits for winter covers glazing thickness and roof pitch directly.
Spring check, every year
- Walk the perimeter and test every anchor by hand. Anything that moves gets tightened or replaced.
- Press each glazing panel at its edges. A panel that moves in its channel has a clip missing or sprung.
- Check the door catch. A door that blows open turns the greenhouse into a wind tunnel with one open end, which is the worst case for the glazing.
- Prop and release the roof vent. A vent stuck open in a storm does the same thing as an open door.
Ten minutes, once a year, and it is most of the difference between a greenhouse that lasts a decade and one that lasts two winters.
The picks in full
Top pick
Palram Canopia Glory Greenhouse
Palram Canopia
#ad We may earn a commission - prices are shown by Amazon, not by us
The heavy-glazed model in the range, and the one to buy if the plan is to keep growing through a real winter.
Glazing thickness is the whole argument for this kit. A 10 mm twin-wall panel holds substantially more heat overnight than a 4 mm one, and overnight is when a winter greenhouse either works or does not.
It is also the model to look at if you get real snow. Thin panels and light frames are a three-season specification; if you are in the Cascades or anywhere with a genuine snow load, buy the heavier structure rather than hoping.
None of that makes it heated. A greenhouse without a heat source holds a few degrees over outside, which is the difference between hardy greens surviving and not -- it is not a tropical house in January.
What works
- 10 mm glazing holds heat far better than 4 mm
- Rated for harder weather than the lighter kits
- Wider footprint gives room for benches down both sides
- Better vent provision as standard
What does not
- Substantially more expensive
- Thicker panels cut light transmission a little
- Heavy enough that assembly is a two-person, whole-day job
Skip it if: you only want a spring seed-starting space. You are paying a large premium for insulation you will use for three months of the year.
| Frame | Heavy-gauge aluminum |
|---|---|
| Glazing | 10 mm twin-wall polycarbonate |
| Sizes | 8 ft wide, several lengths |
| Ventilation | Roof vents, and a screened side vent on some models |
| Base | Integrated base, anchoring required |
A first real greenhouse
Palram Canopia Mythos Greenhouse
Palram Canopia
#ad We may earn a commission - prices are shown by Amazon, not by us
The sensible first greenhouse: an aluminum frame with twin-wall panels, sized to fit a normal backyard rather than a nursery.
Twin-wall polycarbonate is the thing that separates a greenhouse from a plastic tent. Two skins with an air gap between them insulate, and the panel diffuses light rather than throwing hard shadows, which suits seedlings better than clear glass does.
The Mythos sits at the point in the range where you get a proper aluminum frame, a roof vent and a lockable door without paying for the heavy-duty glazing. For starting seeds, hardening off, and stretching the tomato season at both ends, that is the right specification.
Two warnings from the manual that people ignore. Anchor it -- every lightweight greenhouse that ends up in a neighbor's yard was not anchored. And build it with a second person; the panels flex and the frame is not square until the last bolt.
What works
- Twin-wall panels diffuse light and insulate better than single-skin plastic
- Aluminum frame will not rust or need painting
- Lengths let you match the run to the space you have
- Roof vent included rather than sold as an extra
What does not
- 4 mm glazing is thin for real winter use
- Assembly is a long afternoon and genuinely needs two people
- Must be anchored -- an unanchored kit is a sail
Skip it if: you live somewhere with heavy snow load. 4 mm panels are a three-season specification; the thicker-glazed models exist for a reason.
| Frame | Rust-resistant aluminum |
|---|---|
| Glazing | 4 mm twin-wall polycarbonate |
| Sizes | 6 ft wide, several lengths including 6 x 8 and 6 x 10 |
| Ventilation | Roof vent, lockable door handle |
| Base | Integrated base rail, anchoring required |
A few degrees for almost no money
Agribon AG-19 Floating Row Cover
Agribon
#ad We may earn a commission - prices are shown by Amazon, not by us
The cheapest frost protection there is, and the thing to try before buying any heater: a light spun fabric laid over the crop that buys a few degrees and costs nothing to run.
Before heating anything, try covering it. A layer of light spun fabric over the crop slows radiant heat loss on a clear night, which is when frost damage happens, and the manufacturer's figure for AG-19 is up to about 4 degrees F of protection. Inside a greenhouse, that stacks with the few degrees the structure already holds.
The weight grade is the decision. AG-19 at 0.55 oz per square yard transmits about 85% of light, which is the right compromise for season extension. Heavier frost grades hold more warmth and cut more light, and in December light is the resource you cannot spare.
Practical notes: weight the edges with soil, boards or sandbags, because it is lighter than it looks. It can stay on through rain, since it is porous. And inside a greenhouse, lay it over the plants on cold nights and pull it back on bright days so the crop gets the light it came for.
What works
- Costs a tiny fraction of a heater and nothing at all to run
- Porous to water and air, so it can stay on through rain rather than being lifted daily
- Works outdoors over a raised bed as well as inside a greenhouse
- Light enough to lay straight on the crop without hoops
What does not
- A few degrees is the whole effect -- it will not save tender plants in a hard freeze
- Cuts roughly 15% of the light, which matters in midwinter when light is already the limit
- Tears on anything sharp and degrades in UV over a couple of seasons
- Needs weighting at the edges, or the first real wind takes it across the garden
Skip it if: you are carrying tender container plants through a hard freeze. Fabric slows heat loss; it does not add heat, and a few degrees is all it is.
| Material | Spun-bonded polypropylene, UV stabilized |
|---|---|
| Weight | 0.55 oz per sq yd |
| Light transmission | About 85% (manufacturer) |
| Frost protection | Up to about 4 degrees F (manufacturer) |
| Water and air | Porous -- rain and air pass through |
| Life | 2 to 3 seasons with care |
| Sizes | From 83 in x 50 ft up to field rolls |
Knowing what actually happened overnight
Min/Max Greenhouse Thermometer
Various
The cheapest accessory that changes decisions: it tells you the overnight low and the midday high, not the temperature at the moment you happened to look.
Every greenhouse decision -- when to sow, when to vent, whether you need a heater, whether the frost cloth is doing anything -- depends on a number most owners never measure: the overnight low inside the structure.
A min/max thermometer records the high and low since you last reset it, so a morning glance tells you what happened while you slept. That turns guessing into knowing, for the price of a bag of compost.
Hang it at plant height and out of direct sun. A thermometer in a sunbeam reports the sunbeam, not the greenhouse.
What works
- Shows the overnight low, which is the number that kills plants
- Cheap enough to put one in the greenhouse and one in the cold frame
- Tells you whether venting is working
- No installation
What does not
- Reads wrong if hung in direct sun
- Digital versions need a battery
- It measures, it does not fix anything
Skip it if: nothing. If you own a greenhouse and not one of these, you are guessing about the only variable that matters.
| Type | Min/max recording thermometer |
|---|---|
| Reading | Current, plus high and low since reset |
| Mounting | Hangs at plant height, out of direct sun |
| Power | Digital models take a single cell |
Common questions
What greenhouse is best for high winds?
A rigid kit with a heavy-gauge aluminum frame, thick twin-wall panels in a deep glazing channel, and an integrated base rail you can bolt to slabs or ground screws -- the Palram Canopia Glory in this range. The fixings matter more than the kit: a heavy greenhouse that is not anchored fails before a lighter one that is.
How do you anchor a greenhouse so it does not blow away?
Through the integrated base rail, at every fixing point it provides rather than only the corners. Masonry anchors into slabs or a concrete pad, ground screws or auger anchors into soil, coach screws into a staked timber perimeter. Tent pegs in soft ground are not anchoring.
Can a polycarbonate greenhouse survive a storm?
Yes, when it is anchored and its glazing clips are intact. The usual failure sequence is an unanchored structure lifting, or one panel corner springing out of a shallow channel and the wind opening the gap from there. An annual check of anchors, clips, the door catch and the vent prevents most of it.
Is a tunnel greenhouse any good in wind?
Not on an exposed site. A steel tube frame cannot be bolted to anything, so its wind resistance is capped by the stakes and guy ropes supplied, and the cover is a consumable rather than a repairable part. It is a fine seasonal structure in a sheltered garden and the wrong purchase in an open one.
Does a windbreak help a greenhouse?
A permeable one does -- a hedge, slatted fence or mesh screen filters the wind and reduces the load. A solid barrier can make things worse by creating turbulence and a low-pressure zone immediately downwind of it. Siting a greenhouse in the lee of an existing hedge or building is the cheapest wind protection available.
Sources
Factual claims on this page are backed by the published sources below, and product specifications are the manufacturers’ own. Where a figure is not published, we say so rather than estimating it.